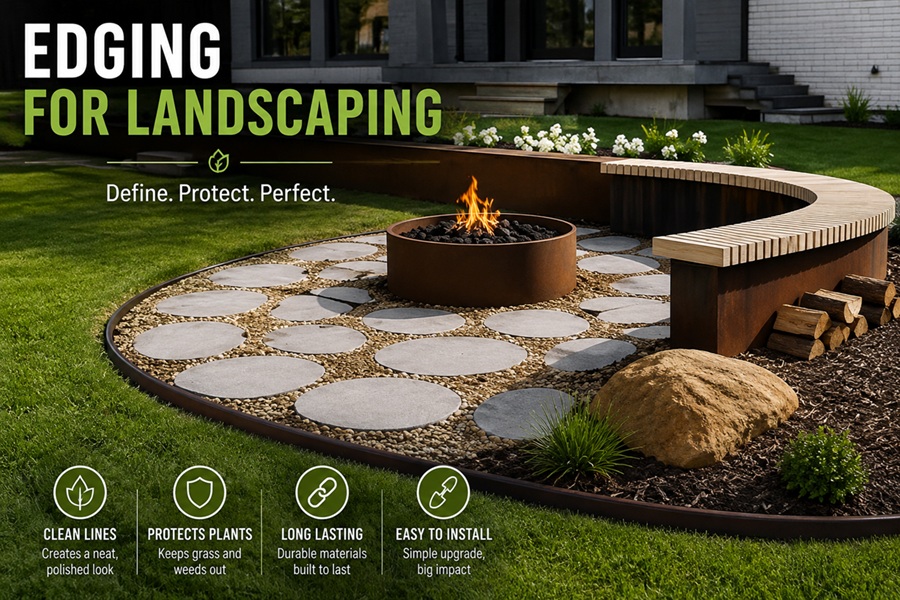
Landscape edging is the border material — metal, plastic, stone, brick, or wood — installed between two different surfaces, like a lawn and a flower bed, to keep them from blending into each other. It stops grass from creeping into mulch, keeps gravel paths from spreading, and gives beds a clean, defined line without constant re-trimming.
The right edging choice depends less on looks alone and more on what it needs to hold back, how much upkeep is acceptable, and what the budget allows. The sections below cover the main edging types, where each works best, and how to install and maintain them.
Landscape Edging Quick Facts
| Detail | General Guideline |
| Typical installation depth | 2–5 inches into the ground |
| Most common materials | Metal, plastic, stone, brick, concrete, wood |
| Average DIY cost per linear foot | $1–$8 |
| Average professionally installed cost | $5–$25 per linear foot |
| Lifespan (metal or stone) | 15–30+ years |
| Lifespan (plastic) | 5–10 years |
| Best time to install | Spring or fall, in workable soil |
What Landscape Edging Actually Does
Beyond looking tidy, edging solves a few practical problems at once. It keeps grass roots from spreading into garden beds, holds mulch or gravel in place during heavy rain, and creates a clean mowing line so string-trimming along every bed isn’t necessary.
It also helps separate materials that don’t mix well, such as keeping decorative rock from migrating into soil, or preventing a gravel path from washing into the lawn after a storm.
Main Types of Landscape Edging
Metal Edging (Steel or Aluminum)
Thin strips of steel or aluminum bend easily into curves, making them a favorite for flowing bed lines. Steel edging is more rigid and long-lasting; aluminum resists rust and is lighter to install. Both sit mostly hidden below the soil line, showing only a slim, clean edge.
Plastic or Vinyl Edging
The most budget-friendly option, plastic edging comes in rolls or rigid sections and is easy for a beginner to install in an afternoon. It holds up fine for a few years but can crack in freezing climates and tends to look less polished over time than metal or stone.
Natural Stone Edging
Fieldstone, flagstone, or river rock set along a bed edge gives a natural, informal look. It’s heavier to install and less precise for tight curves, but it doesn’t rust, crack, or fade, and it blends well with cottage or woodland-style landscaping.
Brick Edging
Bricks set on edge or at an angle (soldier or sailor style) create a classic, structured border. They pair especially well with traditional home exteriors and can be laid without mortar for an easy weekend project.
Poured Concrete Edging
A continuous concrete border, either poured on-site or precast in sections, offers a permanent, low-maintenance edge. It costs more upfront and is harder to modify later, but it won’t shift, heave, or need replacing for decades.
Wood Edging
Landscape timbers or cedar boards give a warm, natural look that suits rustic or vegetable garden settings. Untreated wood typically lasts 5–10 years before it needs replacing, while rot-resistant species like cedar or redwood last longer.
Comparing Edging Materials Side by Side
| Material | Best For | Approx. Lifespan |
| Metal | Curved beds, clean modern lines | 15–30 years |
| Plastic | Budget projects, straight or gentle curves | 5–10 years |
| Natural stone | Informal, cottage, or woodland gardens | 20+ years |
| Brick | Traditional homes, formal beds | 20+ years |
| Concrete | Permanent borders, driveways, paths | 25–30+ years |
| Wood | Rustic beds, vegetable gardens | 5–15 years |
Choosing Edging Based on What It’s Holding Back
Not every edging type is suited to every job. A material that works well for separating lawn from mulch may not be sturdy enough to contain loose gravel.
| What You’re Containing | Recommended Edging |
| Grass from garden beds | Metal or plastic, buried 3–4 inches deep |
| Mulch from spreading onto paths | Brick, stone, or metal border |
| Loose gravel or rock | Rigid metal or concrete edging, taller profile |
| Raised vegetable beds | Wood timbers or cedar boards |
| Driveway or walkway borders | Brick, concrete, or paver edging |
How to Install Basic Landscape Edging
Most edging types follow a similar general process, even though materials differ in the details. Marking the line first, digging a clean trench, and setting the material at a consistent depth make the biggest difference in how professional the final result looks.
| Step | What to Do |
| 1. Mark the line | Use a hose or spray paint to outline the shape before digging |
| 2. Dig the trench | Cut a clean edge 2–5 inches deep, depending on material |
| 3. Set the edging | Press or stake material firmly along the trench line |
| 4. Backfill | Pack soil on both sides to hold the edging in place |
| 5. Finish the bed side | Add mulch, gravel, or plants up to the new edge |
Maintenance by Material Type
Edging maintenance needs vary quite a bit by material. Metal and concrete need almost no attention once installed, while wood and plastic benefit from a periodic check for damage or shifting.
Wood edging should be inspected each spring for rot or insect damage, especially where it touches damp soil. Plastic edging can heave out of the ground after a hard freeze-thaw cycle and may need to be reset. Stone and brick occasionally need re-leveling if they settle unevenly, but otherwise hold their position for years.
Budget Planning for an Edging Project
Cost depends heavily on material choice and whether the project is DIY or professionally installed. A small flower bed border costs far less than edging an entire property line.
| Material | DIY Cost per Linear Foot | Professional Cost per Linear Foot |
| Plastic | $1–$3 | $4–$7 |
| Metal | $3–$6 | $8–$14 |
| Wood | $2–$5 | $6–$12 |
| Brick | $4–$8 | $10–$18 |
| Natural stone | $5–$10 | $12–$25 |
| Concrete | $6–$12 | $15–$25 |
Common Mistakes to Avoid
A few recurring mistakes account for most edging projects that don’t hold up. Setting the edging too shallow lets grass roots creep underneath within a season. Skipping a level check leads to a wavy line that’s obvious from a distance.
Choosing plastic edging in a climate with hard freezes is another common regret, since repeated frost heave can pop it out of the ground within a couple of years. Matching the material to the climate and the job it needs to do avoids most of these issues.
Final Thoughts
Landscape edging is a small detail that has an outsized effect on how finished a yard looks. Matching the material to the job — metal for flowing curves, brick for formal lines, stone for a natural look, wood for garden beds — keeps the border doing its job for years instead of needing to be redone every season.